

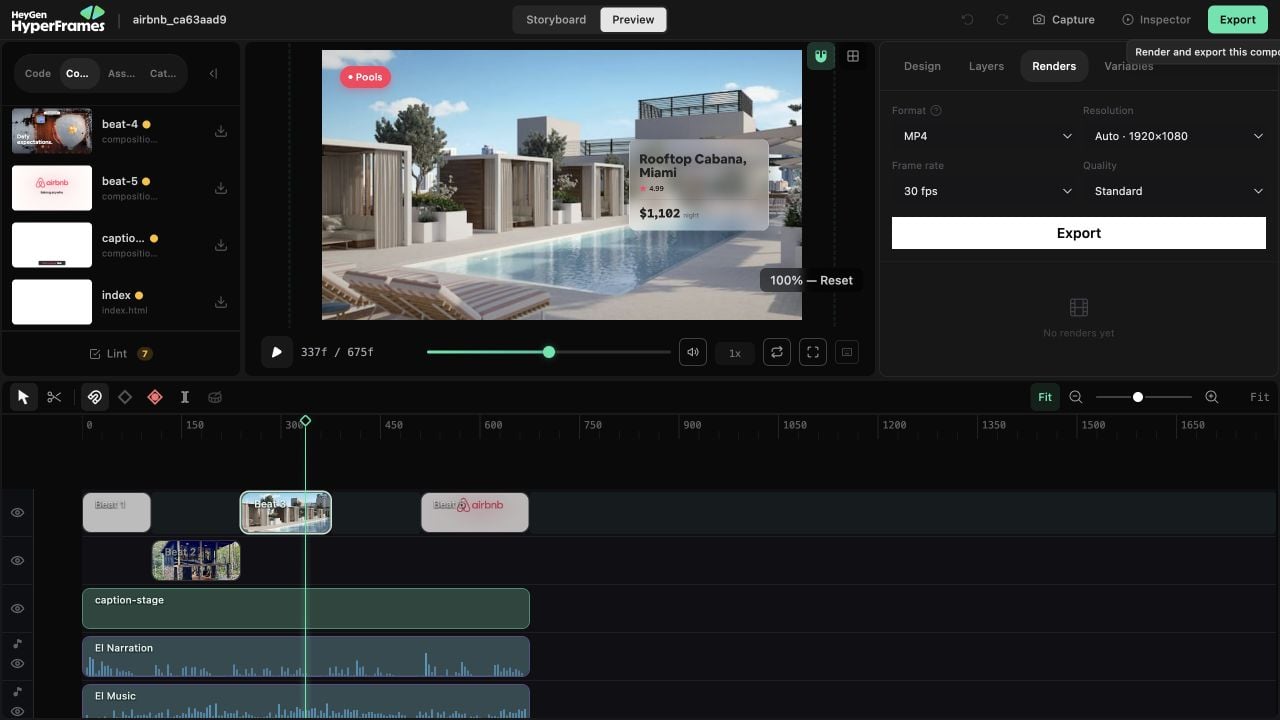
Choose the format
- MP4 — the normal choice for sharing and uploading.
- WebM — useful for web delivery and some transparency workflows.
- MOV (ProRes) — useful when another editing or production workflow expects a high-quality intermediate.
Choose quality and size
Use the project’s authored resolution unless you need a specific delivery size. The resolution control includes Auto and compatible preset sizes. Increasing resolution makes the render slower and the file larger; it does not repair low-resolution source media. Choose 24, 30, or 60 fps only when the destination or source material requires it. MOV uses a fixed ProRes quality, so the separate quality choice is hidden for that format.Start and manage a render
The render queue shows active and completed jobs. From there you can:- watch progress;
- cancel an active job;
- download a completed file;
- delete an unwanted result;
- choose Hide finished to remove completed rows from the list without deleting their files.
Before you send the file
- Open the exported file itself.
- Watch the beginning and end.
- Check captions, cuts, audio, and the most complex transition.
- Confirm dimensions and duration.
- Use a clear filename that identifies the version.